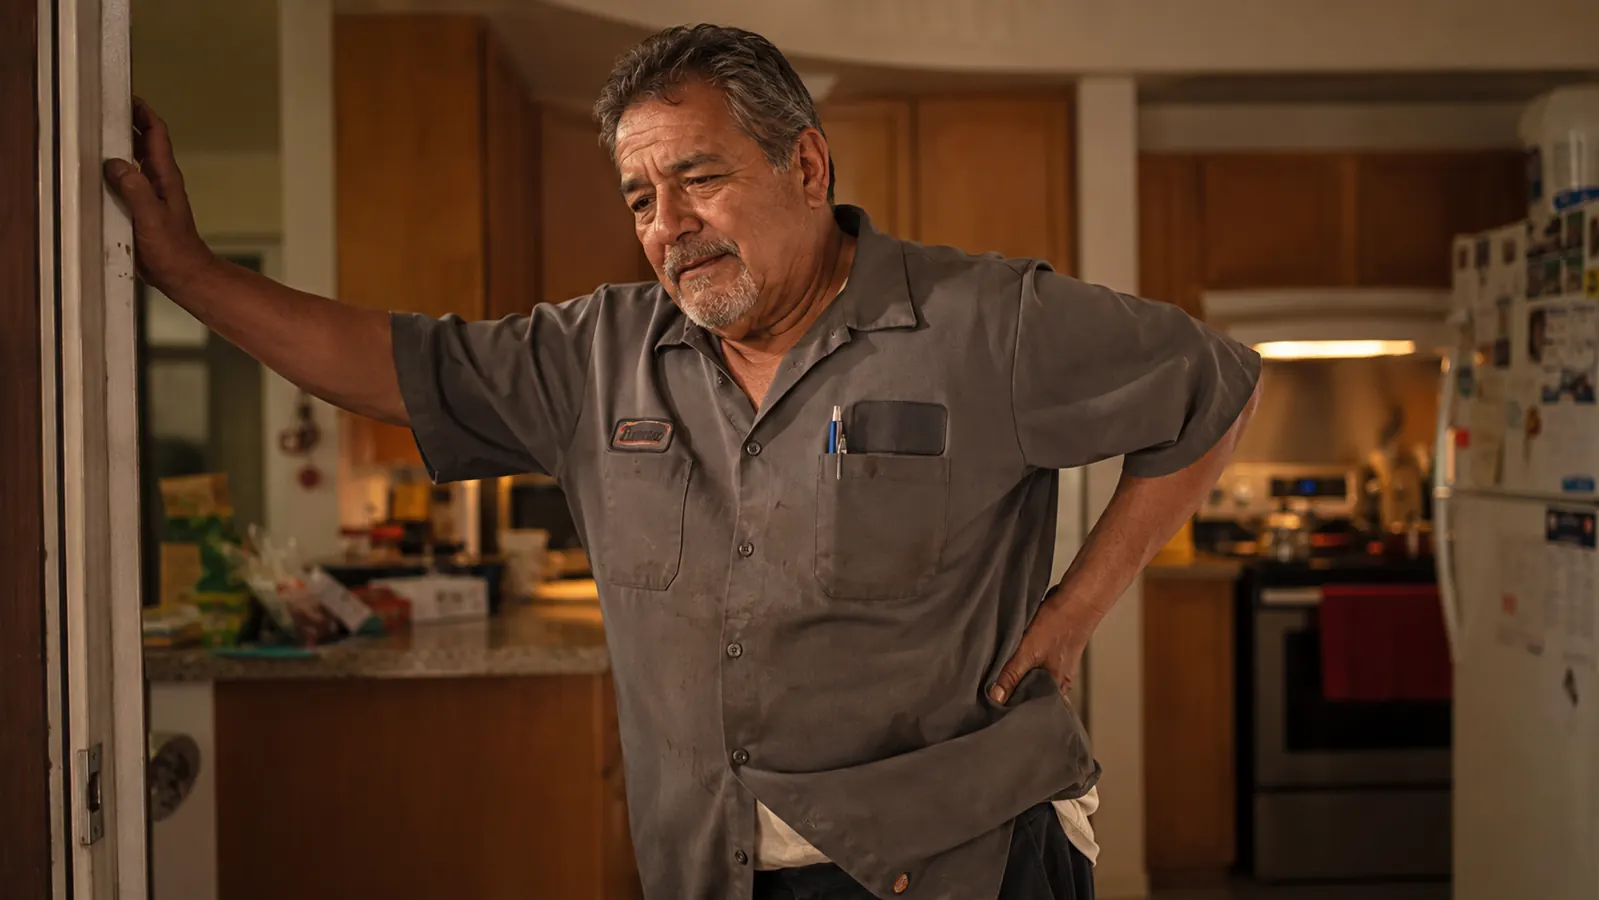
Twenty-two years driving a city bus will teach you exactly where back pain likes to hide. Mine sits low, right where the seatbelt buckle digs in, and it radiates up into my right shoulder blade by hour six of a split shift. For a long time I figured that was just the cost of doing the job. Take some ibuprofen, sit in a hot shower, hope tomorrow is better. It usually wasn't. I'd wake up stiffer than I went to bed, and by Thursday of a five-day stretch I was moving like a man twice my age.
I finally brought it up to my doctor during a routine physical, and even he didn't have much beyond "stretch more" and a referral to a physical therapist I couldn't afford to see every week on a driver's schedule. What changed things for me wasn't a chiropractor bill or a new mattress. It was a small, oddly shaped tool called the Body Back Buddy, a hard plastic massage cane shaped like a backwards S with two hook ends. I was skeptical the first time my route supervisor, a former physical therapy tech, showed me hers in the break room. It looks like something you'd find in a garage, not something that fixes back pain.
But the shape is the whole point, and once I understood how to actually use it instead of just jabbing it into my spine, it became the thing I reach for after every long shift. Below is the exact routine I've used for the better part of two years, step by step, so you don't waste the first few weeks like I did just poking around and wondering why nothing changed.
Stop guessing where the knot is and start pressing on it
The Body Back Buddy's dual hooks are built to reach the exact spots your hands can't, without needing another person in the room. Here's the one I've used since 2024.
Amazon Check Today's Price on Amazon →Step 1: Find your actual trigger points before you touch the cane
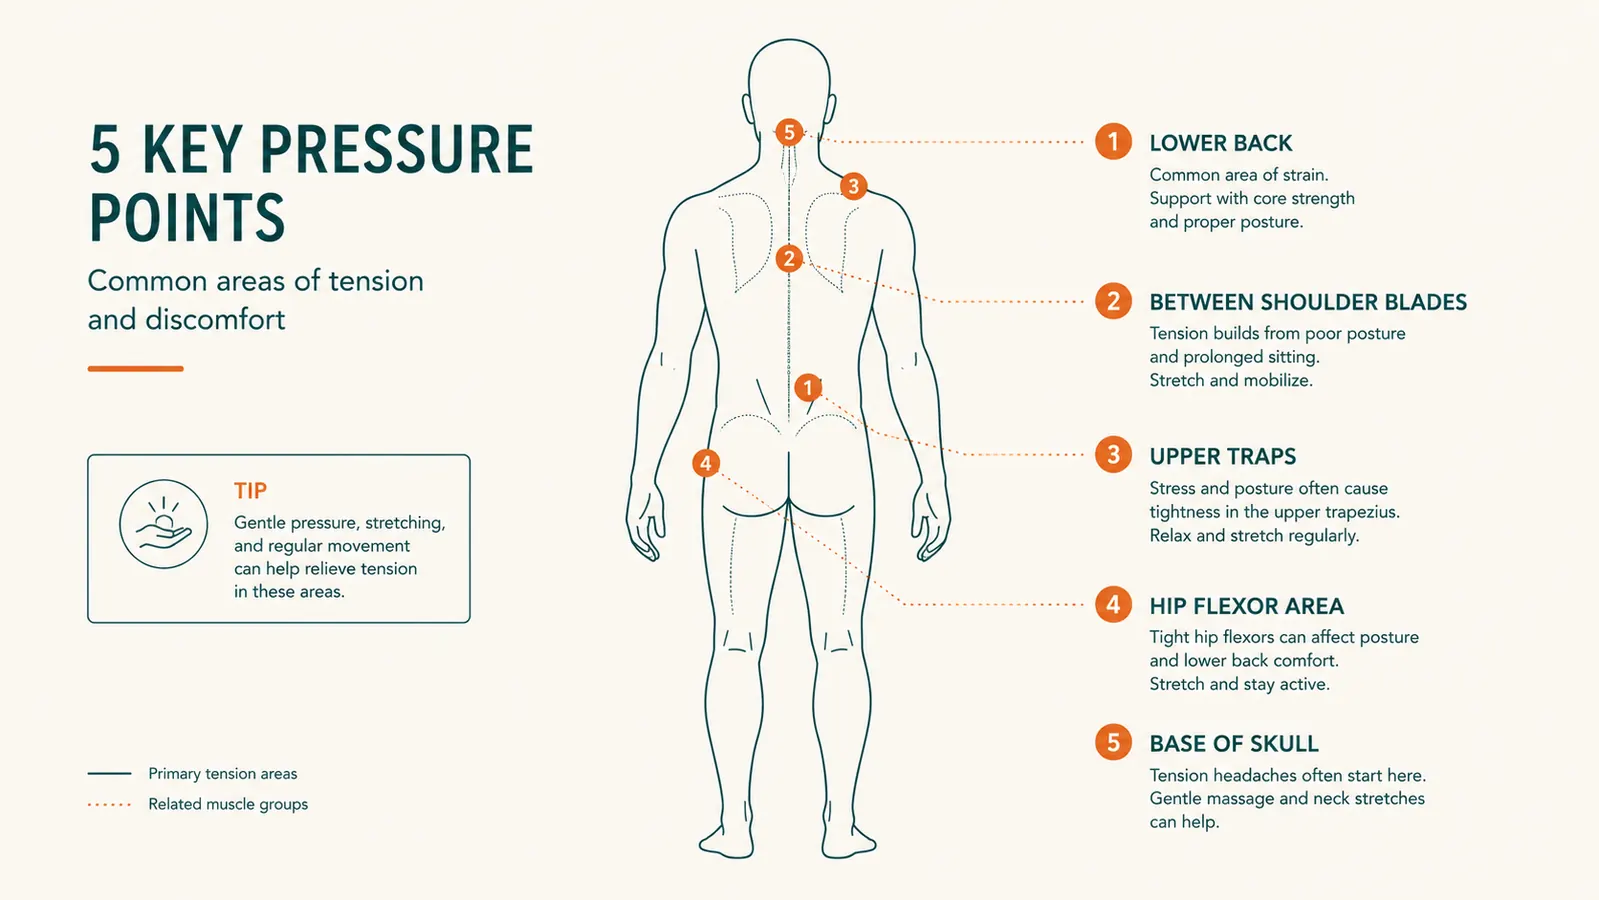
Most guys skip this and just start digging the hook into whatever hurts in the moment. That's backwards. Trigger points are small, dense knots in the muscle, usually about the size of a pencil eraser, and they're rarely exactly where the pain radiates. My worst knot sits about two inches to the right of my spine at belt level, but the ache I actually feel shows up in my hip and down my leg. That's referred pain, and it's normal.
Before you pick up the cane, run your fingers slowly along your lower back, upper back between the shoulder blades, and the base of your neck. Press gently. A trigger point feels like a tight rubber band under the skin, and pressing it usually reproduces some version of the pain you already know. Mark those spots mentally. For me it's always three: low right back, right shoulder blade, and the base of my skull from craning my neck to check mirrors all day.
I used to try to find these spots with just my thumbs, but after about ninety seconds my hands would cramp before the muscle ever released. That's the real limitation of doing this bare-handed, your grip gives out long before the knot does. Knowing your map ahead of time means you're not wasting cane time hunting around once your shift is already over and you're running low on patience.
Step 2: Use the S-hook to reach spots your hands can't
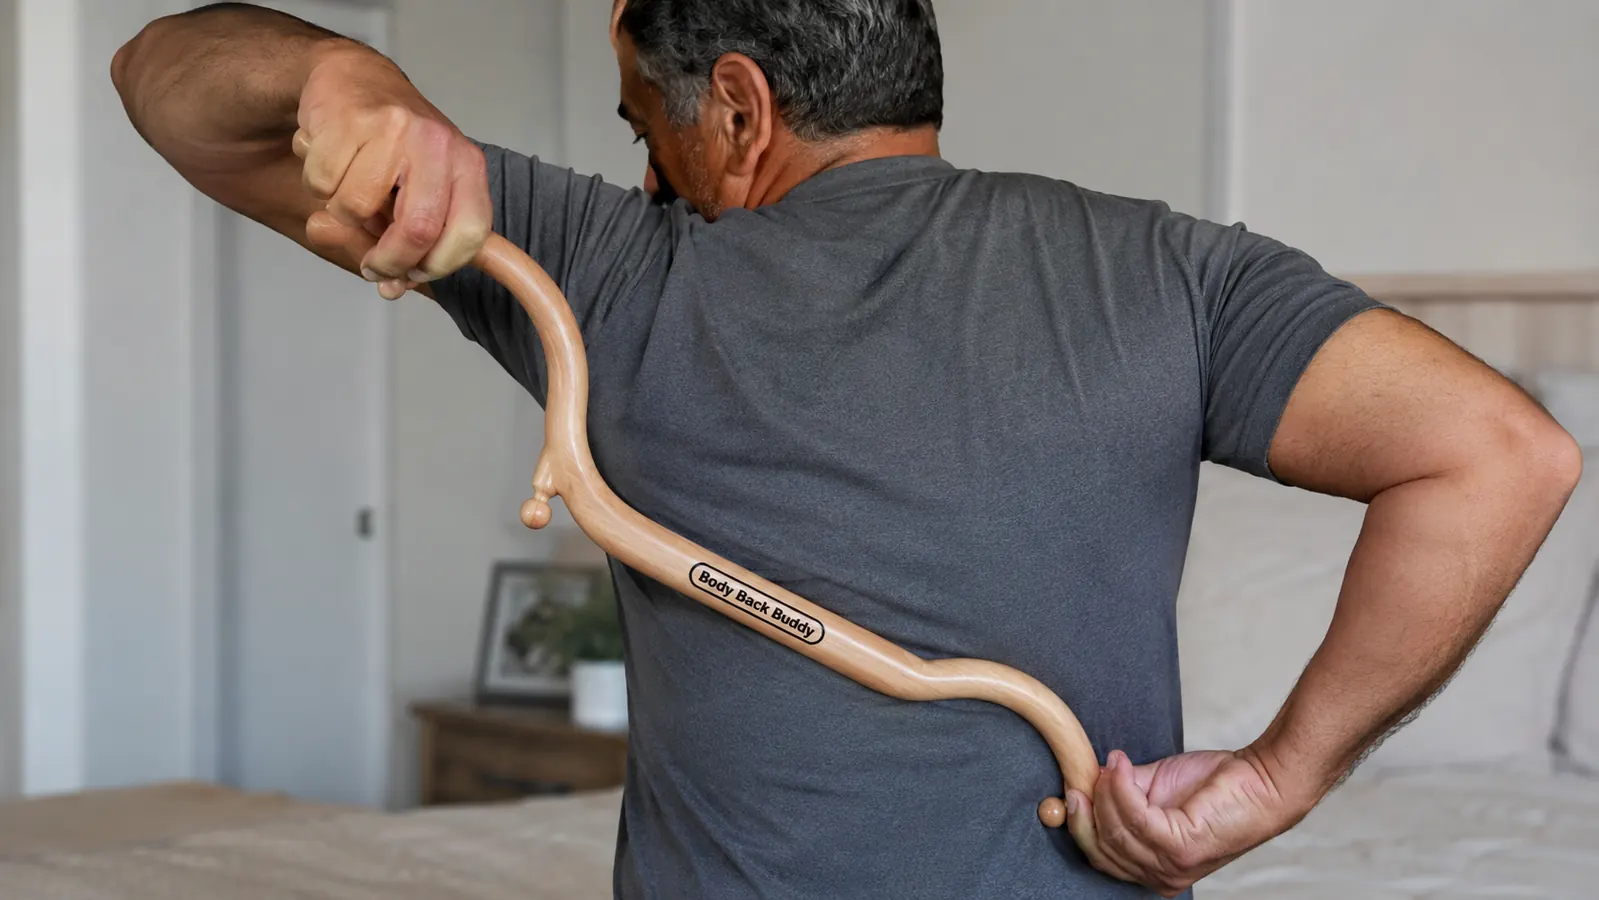
This is the entire reason the massage cane beats a tennis ball against the wall or asking your spouse to dig an elbow into your back. The S-curve on the Body Back Buddy means you can hook one end over your shoulder and reach straight down into the muscle beside your own spine, with your own hand controlling exactly how hard you press. No guessing whether someone else is pushing too hard or not hard enough.
For the low back knot, I reach the cane over my shoulder on the same side, let the rounded hook settle into the muscle next to my spine, and pull down and slightly toward my body using the opposite handle as leverage. For the shoulder blade knot, I bring the hook up from underneath, almost like scratching an itch between the blades. It takes a few tries to find the angle that lands on the actual knot instead of bone or the edge of the shoulder blade. Go slow the first week.
For the neck and base-of-skull spot, I use the short curved end and let gravity do most of the work, resting my head back into the hook rather than cranking my arm. That one surprised me most, years of glancing up at the mirror had built a knot at the base of my skull I didn't even know was there until the cane found it.
Step 3: Apply pressure the right way, not the hardest way
I made this mistake for the first month I owned mine. I treated it like I was trying to dig a hole, pressing as hard as I could and wondering why I was bruised the next day instead of feeling better. That's not how trigger point release works. You want firm, steady pressure, enough that you feel it and it's slightly uncomfortable, but not sharp pain.
Once the hook is on the spot, hold it there for 30 to 90 seconds. Breathe normally, don't hold your breath. Most knots will start to soften and the discomfort will ease off partway through that window, sometimes you'll feel a small release, almost like a click of tension letting go. If it's not easing at all after 90 seconds, back off the pressure slightly rather than pushing harder. Sharp, shooting pain means stop, that's a nerve, not a muscle knot.
A warm shower before you start makes a real difference too. Cold, tight muscle resists the hook and you'll end up pressing harder than you need to just to feel anything. I run the water hot on my low back for a minute before I even pick the cane up on rough days, and the release comes faster once the muscle has already loosened a bit on its own.
Step 4: Build a five-minute post-shift routine, not a once-a-week fix
The biggest shift in how well this worked for me had nothing to do with the tool and everything to do with timing. I used to only pull the cane out when the pain got bad enough to bother me, usually two or three days into a stretch of shifts, by which point the knot had been building for a while and took longer to release.
Now I do it every single day I drive, within about an hour of getting home, before the knot has a chance to set up shop overnight. It takes five to seven minutes: low back, shoulder blade, base of skull, in that order, 60 seconds each side. My wife jokes that I disappear into the garage with my cane like it's a ritual. It kind of is. Consistency did more for my back than any single session ever did, even a rough one.
I started keeping a note on my phone, just a quick 1 to 10 on how tight my back felt before and after, mostly to keep myself honest about doing it every day instead of skipping when I was too tired. Six weeks in, my average pre-cane number had dropped from a 6 to closer to a 3. That's not a clinical study, it's one bus driver's phone notes, but it's the kind of proof that kept me showing up to do it.
Step 5: Pair it with movement, don't just treat it like a fix-all
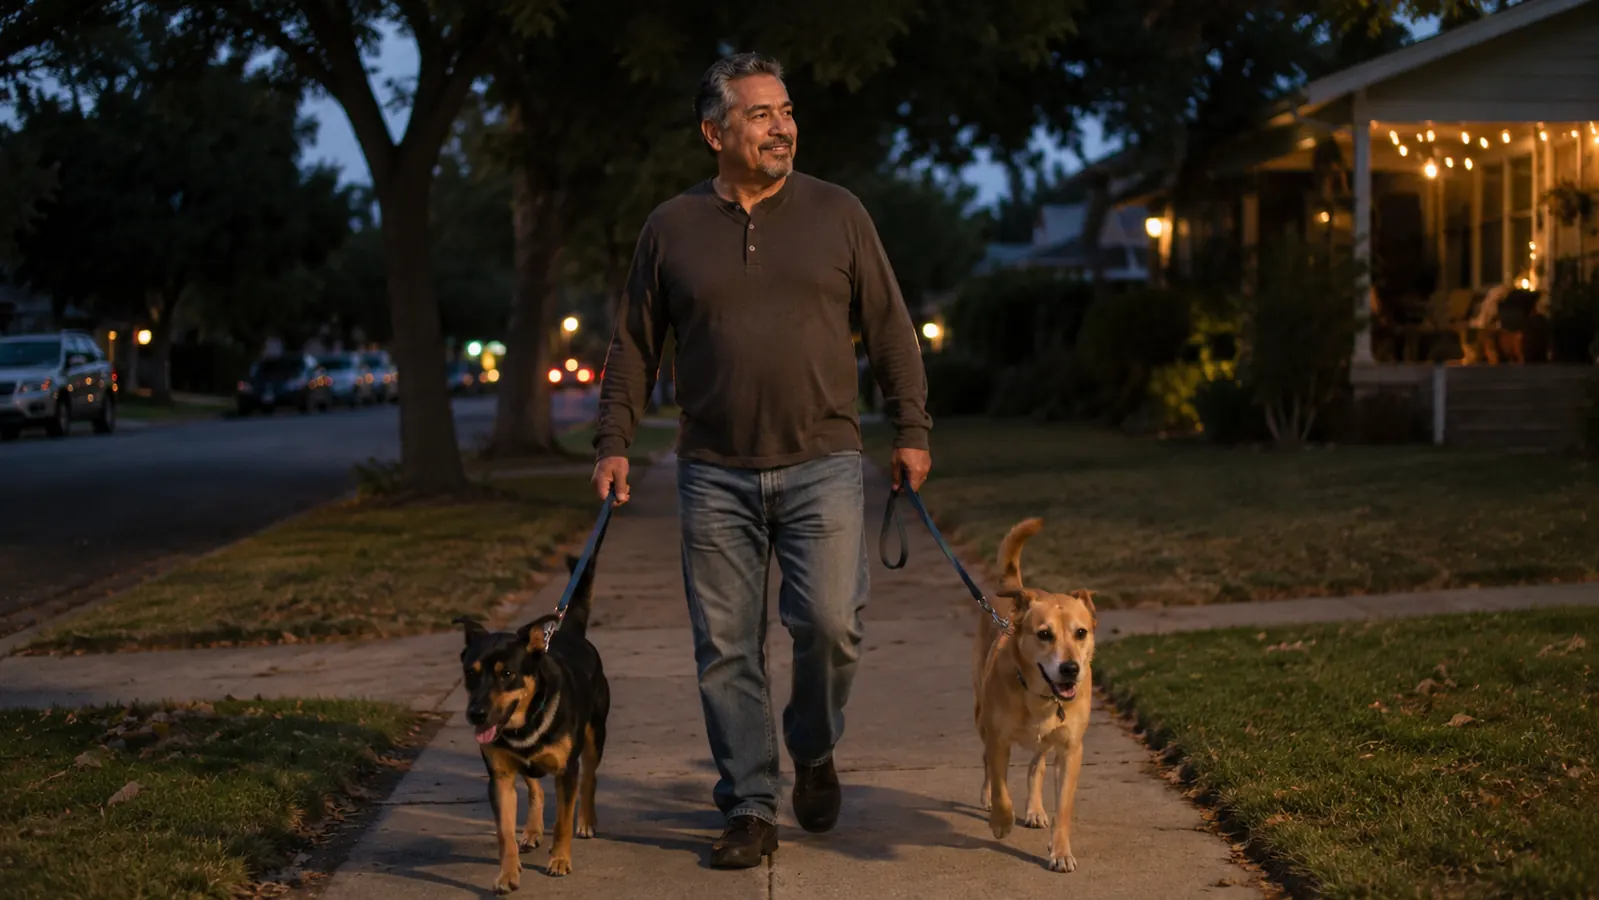
A massage cane loosens the muscle, it doesn't retrain the posture and repetitive load that tightened it up in the first place. I sit in a bus seat for eight hours some days, so I know the knots come back if I don't move. After I finish with the cane, I take my two dogs, Diesel and Rosie, around the block. Fifteen, twenty minutes, nothing fancy. Just enough to get blood moving through the muscle I just worked on and keep my hips from stiffening back up while I sit for dinner.
That walk has honestly become as much a part of my recovery as the cane itself. Standing up straight, swinging my arms, letting my hips open back up after being folded into a driver's seat all day, it reinforces whatever the release work just did. If you don't have dogs, a short walk around the neighborhood does the same job. The point is to not go straight from cane to couch, the movement locks in whatever the pressure work just loosened up.
What Else Helps Between Sessions
A few small habits stack on top of the cane routine without costing anything extra. I adjusted my bus seat's lumbar support properly for the first time in years, most drivers never touch that dial and I was one of them. I also started paying attention to how I get in and out of the driver's seat, twisting less and pivoting my whole body more, which sounds minor but adds up over a ten-hour day.
Sleep position matters more than I expected too. I used to fall asleep on my stomach, which flattens the natural curve of the lower back and undoes a good chunk of the release work from the night before. Switching to my side with a pillow between my knees kept my spine more neutral overnight, and I noticed the morning stiffness that used to greet me at the seat adjustment lever was noticeably less brutal. None of that replaces the cane work, but it means there's less damage to undo each evening.
I stopped waiting for the pain to get bad enough to deal with it, and started dealing with it before it had the chance.
The Bottom Line After Two Years of Using It
I'm not going to tell you an inexpensive hook of hard plastic cured my back. It didn't. What it did was give me a way to get ahead of the knots that build up from a job that keeps me sitting, twisting, and braced against a steering wheel all shift long. The routine matters more than the tool, but the tool is what makes the routine possible without paying for a massage therapist every week.
Five minutes a day, done consistently, beats an occasional deep tissue session I can only afford once in a while. If you're driving, standing, or lifting for a living and you're tired of the same low back ache showing up every shift, give this routine a real two weeks before you decide it's not for you. That's about how long it took me to notice the difference wasn't in my head.
Same tool I've used every shift since 2024
If your back, shoulders, or neck are tightening up from long shifts behind the wheel, on your feet, or lifting all day, this is the routine and the tool that finally got ahead of it for me.
Amazon Check Today's Price on Amazon →